
Online colour analysis: how to prepare for your session at home
Online colour analysis is a practical way to discover your palette without travelling, and it’s the option many people choose when they live far from the studio. But for the result to be reliable, preparation is key: the light, the camera and what you’re wearing greatly affect how colours look on screen. In this article I give you a step-by-step checklist for preparing your session at home.
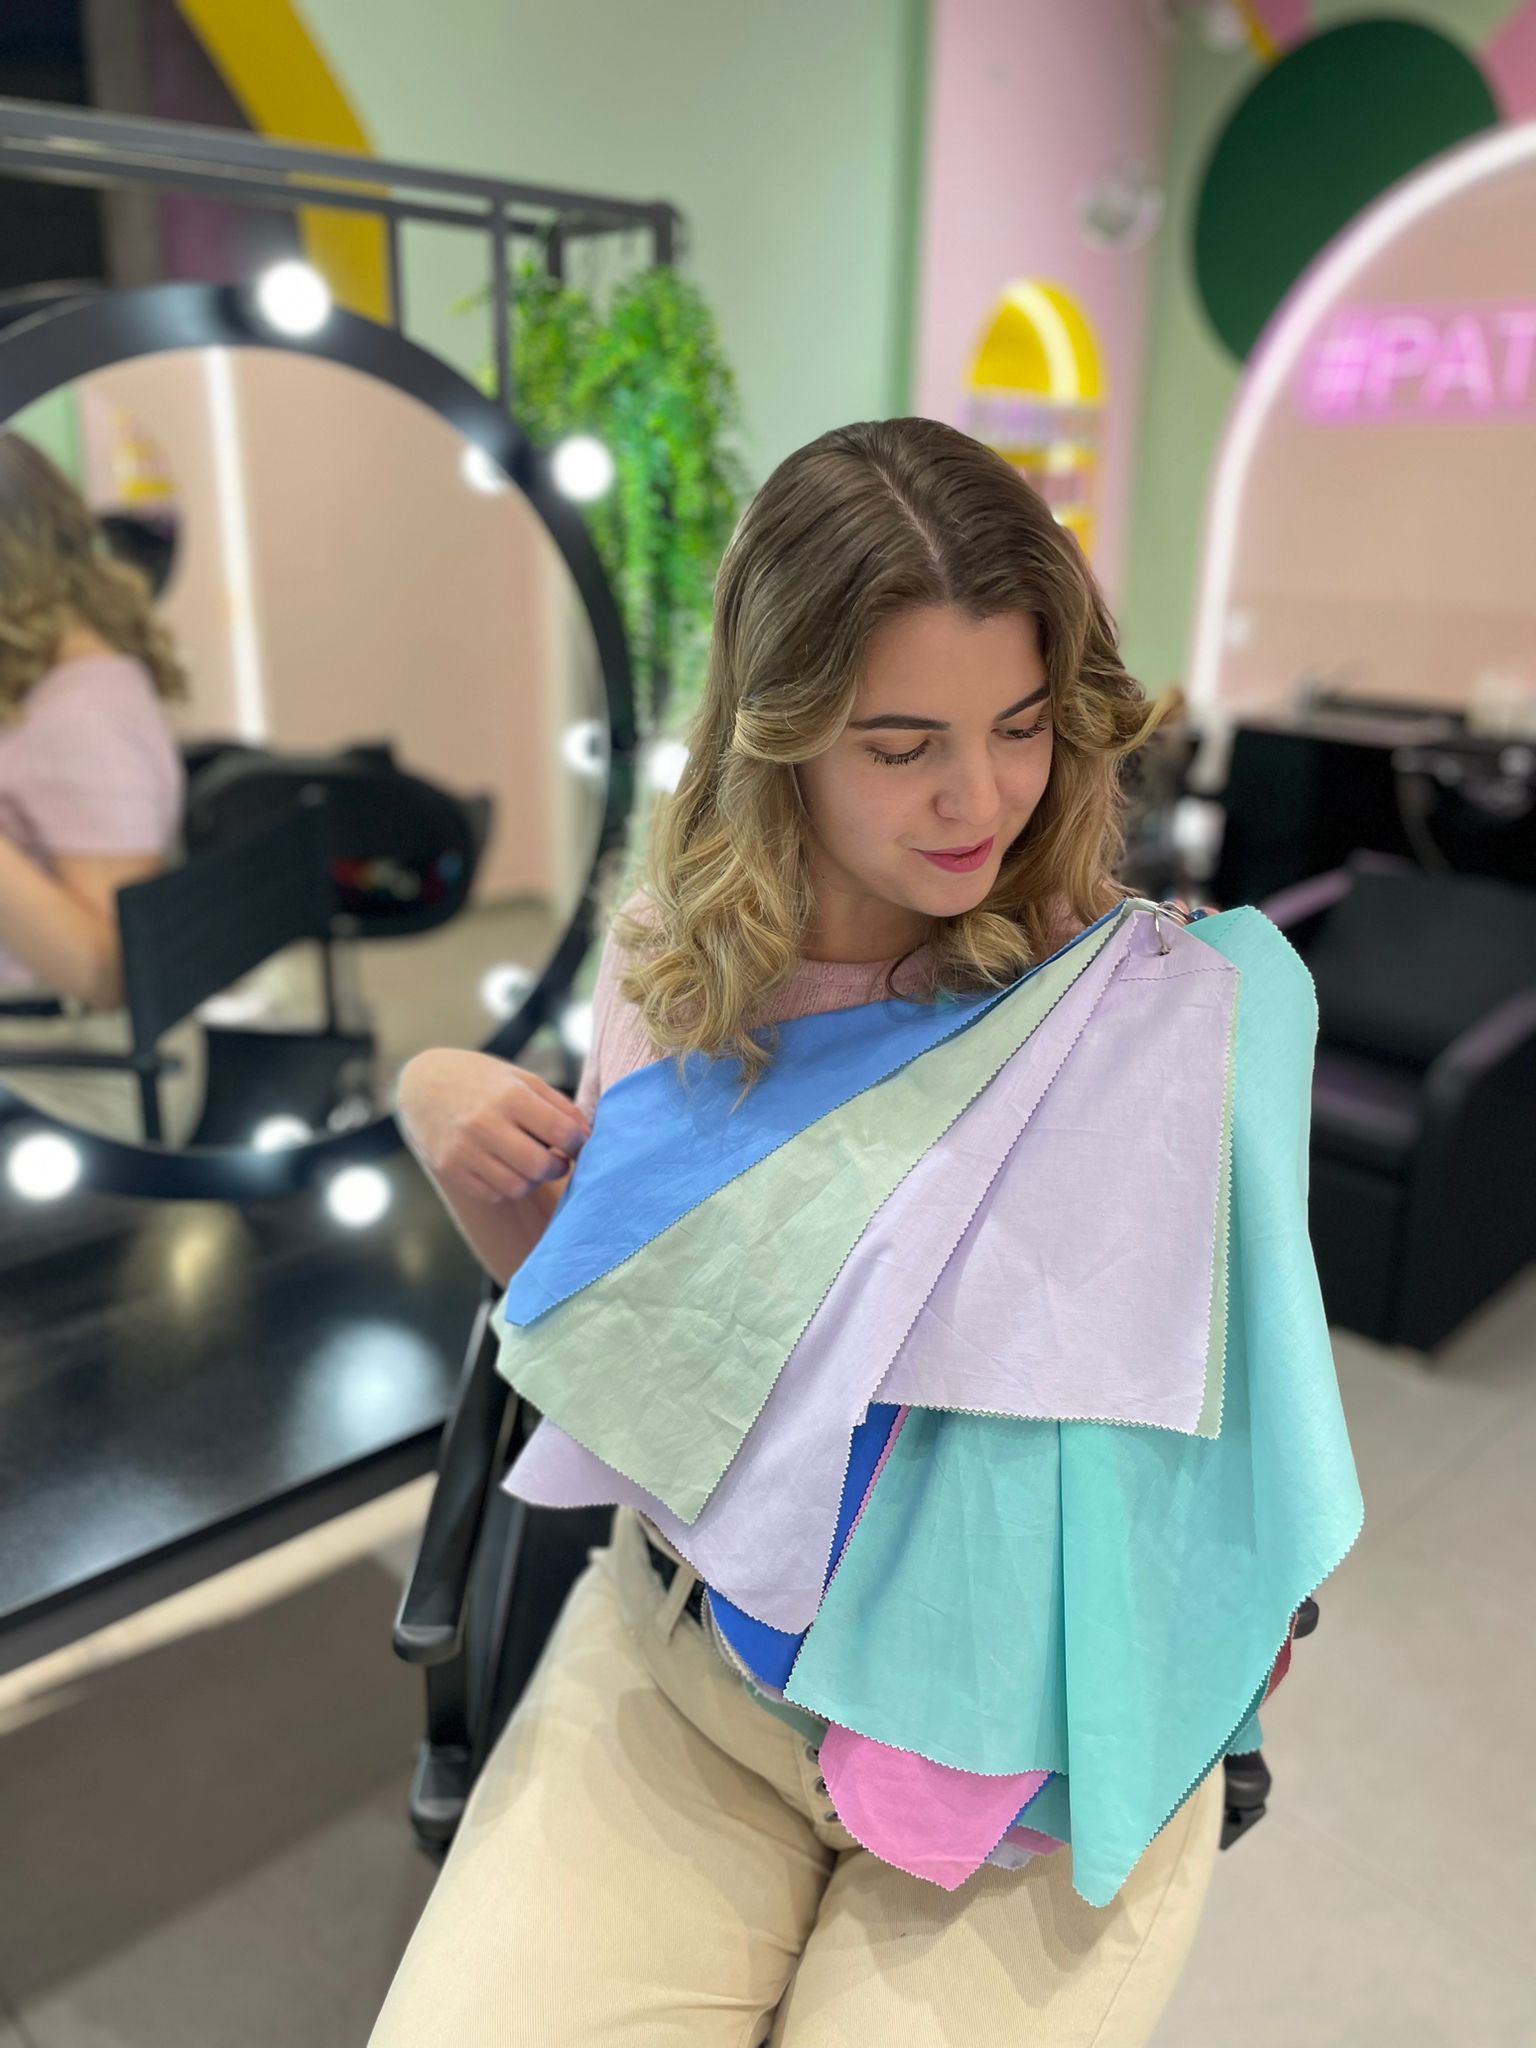
How colour analysis by video call works
In an online session we follow the same method as at the studio: comparing colours next to your face and watching how your skin reacts. The difference is that I see you through the camera and you hold up the garments or drapes I ask for. That’s why the better the lighting and image conditions, the more precise the analysis.
Step 1: choose the right light
- Natural light: sit facing a window so the light falls straight on your face.
- Avoid direct sun: it creates harsh shadows and changes colours. If the sun comes in, use a sheer curtain.
- Morning or midday is best: evening light is very warm.
- Switch off artificial lights: mixing natural light with warm or cool bulbs confuses the reading.
Step 2: set up the camera
- Use a laptop, a tablet or a phone on a stand, at face height.
- Turn off filters and beauty effects in the video call app and on your phone.
- Clean the camera lens.
- Check your internet connection and make sure the device is charged.
Step 3: the background
A neutral background, white or light grey, is ideal. Coloured walls reflect their tone onto your skin; a yellow wall, for example, can make you look warmer than you are.
Step 4: you, au naturel
No make-up
Foundation, blusher and concealer change your skin tone. A clean face is ideal. If you have permanent make-up on your brows or lips, that’s fine: we’ll take it into account.
Hair
If your hair is dyed, have a towel or neutral cloth (white or grey) to hand to cover it during some of the tests. That way we see your skin without the influence of the dye.
Clothing
Wear a white or light grey T-shirt, ideally without prints. Jewellery off.
Step 5: prepare reference garments
Keep a few garments or fabrics in different colours nearby for comparisons:
- One optical white garment and one in ecru or ivory.
- Something black and something chocolate brown.
- Garments in bright colours (fuchsia, electric blue) and in soft colours (dusty pink, greyish blue).
- A gold piece and a silver one.
You don’t need many: a few are enough to see how your skin reacts.
Common mistakes to avoid
- Sitting with your back to the window: your face is backlit and in shadow, and the colours can’t be seen.
- Using portrait mode or a front camera with an automatic filter: many phones smooth the skin and correct colour without telling you. Check the settings before you start.
- Changing position halfway through the session: if the light changes, the comparisons are no longer reliable. Choose one spot and stay there.
- Wearing shiny or patterned garments: they reflect light and distract. Plain, matt fabrics are best.
- Being in a hurry: book the session at a calm time, without interruptions, so the tests can be done unhurriedly.
If it’s a cloudy day
A cloudy day isn’t a problem; on the contrary, diffused light is very neutral and even. You just need to check there’s enough brightness so the camera doesn’t darken the image. If the room is very dark, we’ll find the brightest window in the house together at the start of the session.
If you wear glasses
Take them off during the colour tests so the lenses don’t reflect the light. If you need them to see the screen, sit at a comfortable distance and we’ll use them only during the explanation part.
During the session
I’ll ask you to hold the garments up to your face in a particular order and to stay still facing the light. We’ll also talk about your wardrobe, your style and the colours you usually wear. At the end I explain your season and how to use your palette day to day.
After the session
You’ll receive a dossier with your season, your palette and guidance on applying it to clothes, accessories and make-up. You’ll also have follow-up on WhatsApp to answer questions when you go shopping or put outfits together. If you’d later like to see the colours in real drapes, you can complete the session in person.
Online colour analysis from Zaragoza and Madrid
While we open the GIULIMAGE studios in Zaragoza and Madrid, online colour analysis is the most direct way to work together, and in-person appointments are arranged on request. You’ll find all the details on the colour analysis in Zaragoza and colour analysis in Madrid pages. And if you’re in or near Barcelona, you can also do it in person at the studio: see colour analysis in Barcelona.
Frequently asked questions
Is online colour analysis reliable?
Yes, if the conditions are right: natural light, a filter-free camera and a make-up-free face. During the session I guide you so the image is as faithful as possible.
What do I need at home?
A window with natural light, a device with a camera (ideally a laptop or a tablet on a stand), a white or grey T-shirt, a towel or neutral cloth to cover your hair, and a few garments in different colours.
Can I do the session in the afternoon?
Morning or midday is better, when natural light is more neutral. Evening light is very warm and distorts how colours read.
What do I receive after the online session?
A dossier with your season, your palette and guidance for using it in clothes, accessories and make-up, plus follow-up on WhatsApp to answer any questions.